
Every hiker’s nightmare: returning from an amazing outdoor adventure only to discover you’ve brought home some unwanted travelers. I’m talking about bedbugs - those persistent little hitchhikers that can turn your post-hike bliss into a home contamination crisis.
Recently, after a multi-day hiking trip, I made this unpleasant discovery while still in the mountains.
🐛 TL;DR for the Impatient
Here’s exactly how I dealt with the situation and prevented these pests from infesting my apartment - because trust me, once they get established in your home, you’re looking at a nightmare that makes the hiking discovery seem like a minor inconvenience.
First Things First: Make Sure It’s Actually a Bedbug
Before you launch your self into full panic mode, You need to confirm what your dealing with. Bedbugs are about the size of an apple seed (4-7mm), brown to reddish-brown, and have this oval, flattened shape. They’re different from ticks - no hard shell - and they don’t have the long antennae you’d see on other beetles.
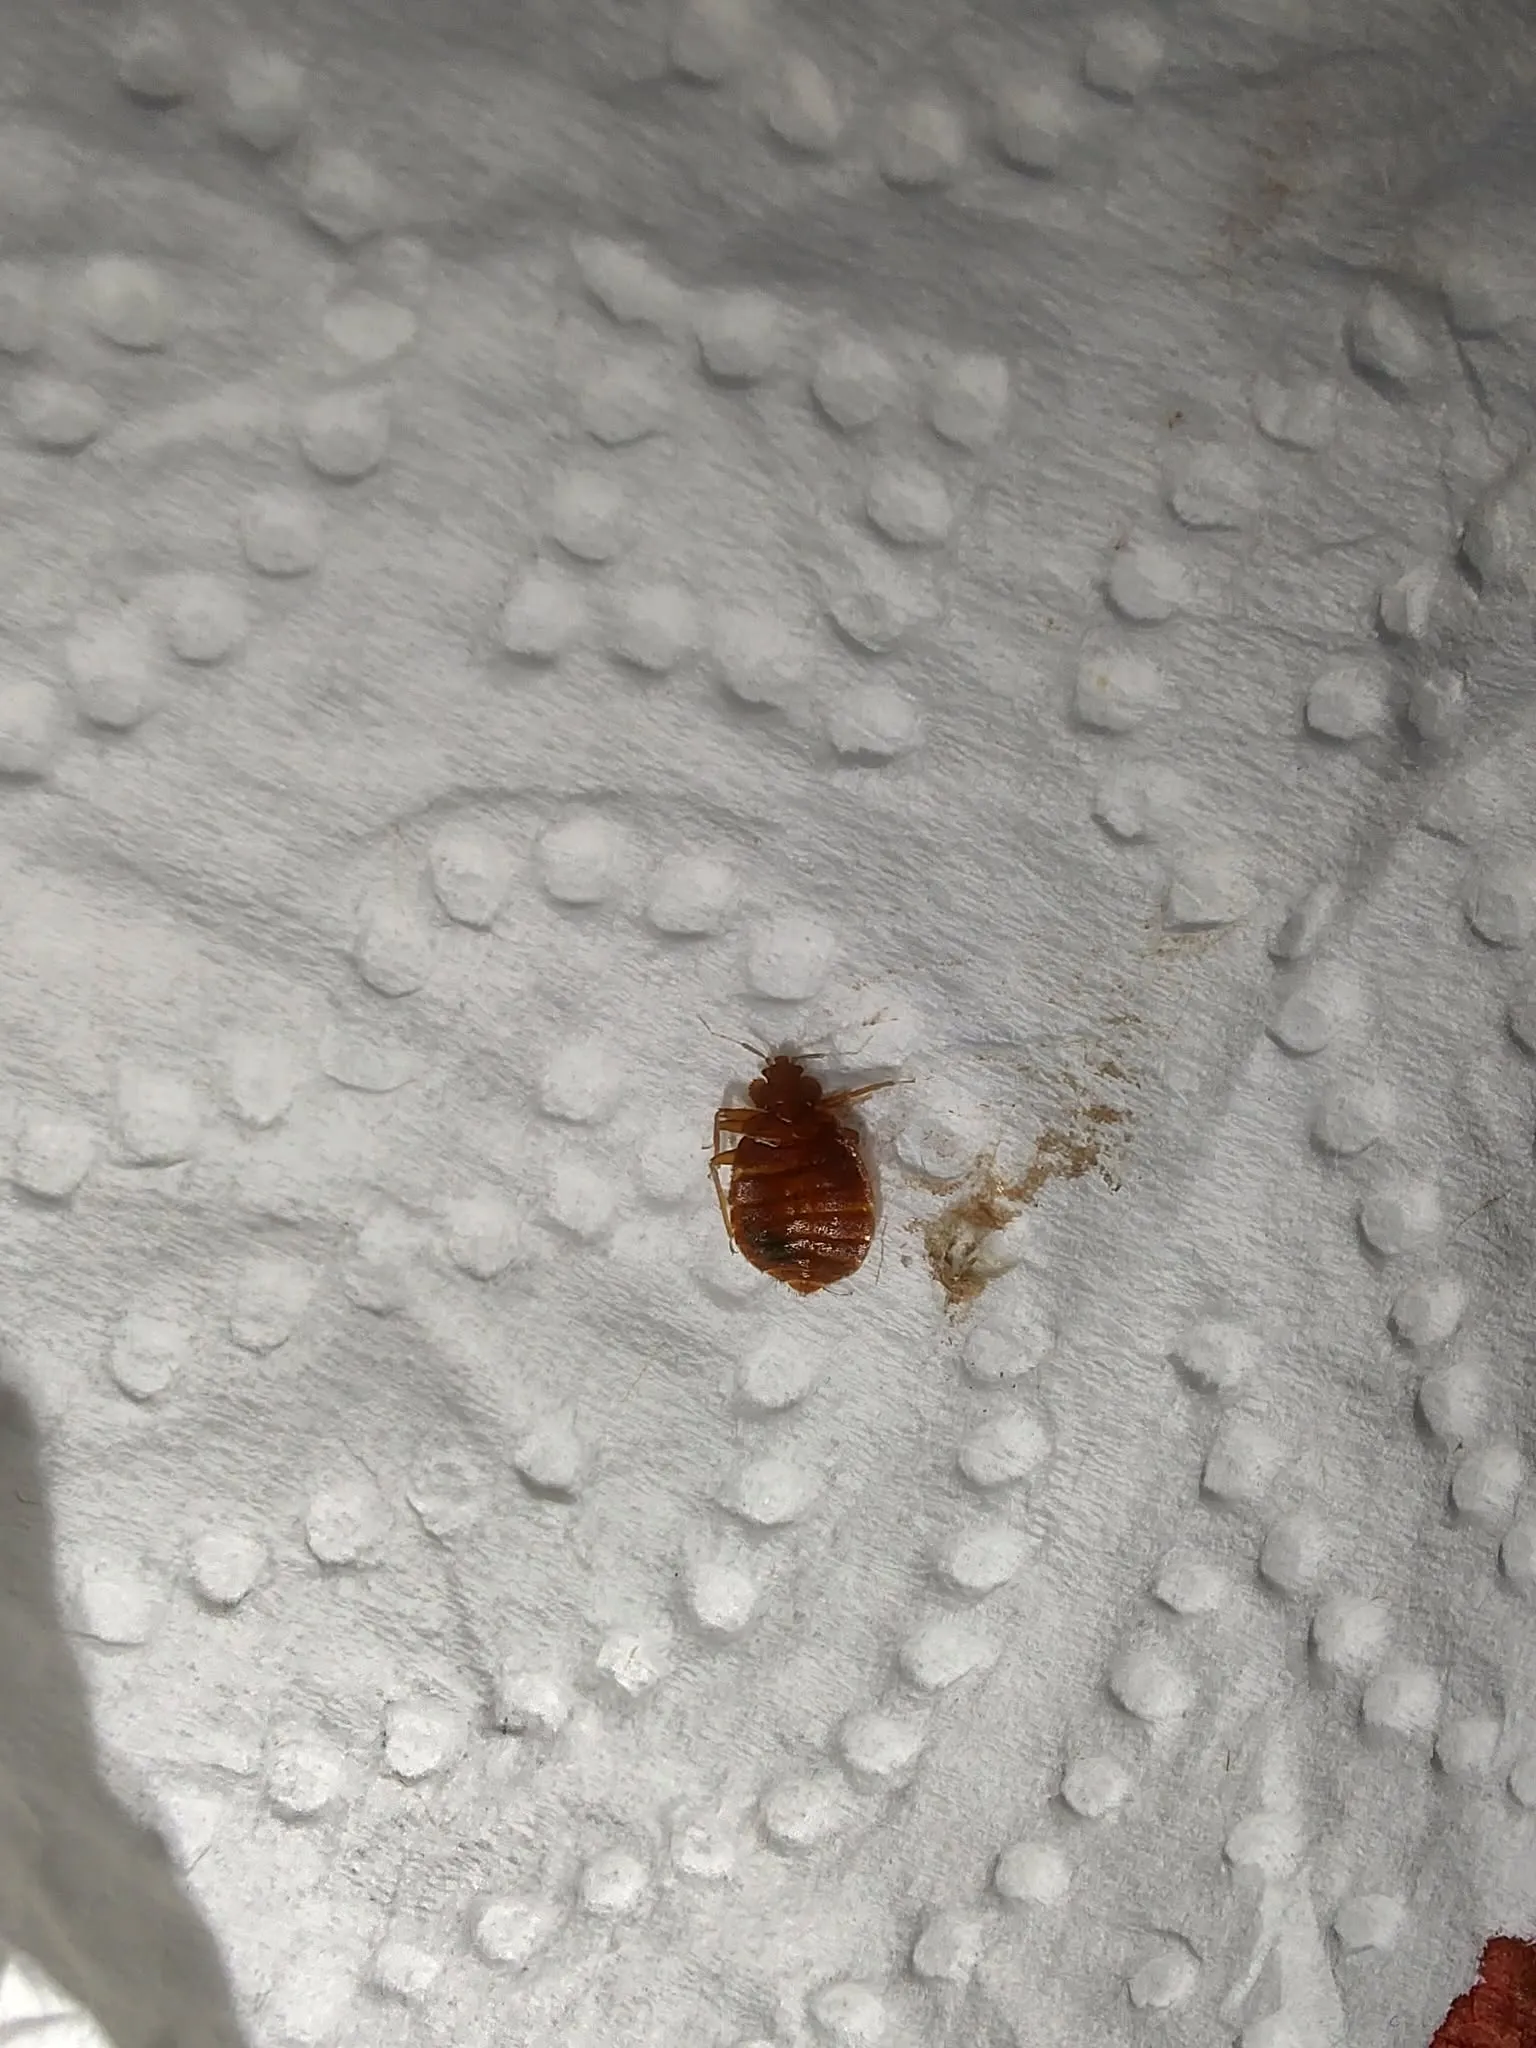
The one I found was clearly well-fed (gross, I know) and had that distinctive reddish color. If you’re squinting at a bug on your gear and it’s tiny, dark, and moves slowly, you might be looking at your new least favorite hiking souvenir.
The Challenge: Living in an Apartment
When you live in an apartment building like I do, you don’t have the luxury of a private yard, veranda, or outdoor space where you can safely treat contaminated gear. You can’t just dump everything in the garage and deal with it later. This means you need a containment strategy that works within the confines of your living space without risking the spread of bedbugs to your home or neighboring units.
And here’s the thing nobody tells you: these little demons can spread to neighboring apartments through walls, electrical outlets, and shared ventilation. The last thing you want is an angry neighbor and a building-wide infestation because you didn’t contain the problem properly.
The Solution: Containment and Treatment
Step 1: Don’t Panic, But Act Fast
The moment you spotted that bug, your first instinct may be to shake everything out and start washing. Don’t do this. Seriously. Shaking out contaminated gear indoors is like ringing a dinner bell for every bedbug to scatter throughout your apartment.
Instead, you need to immediately stop unpacking and start thinking containment. These bugs can establish themselves in your home within 24-48 hours, so time is not on your side.
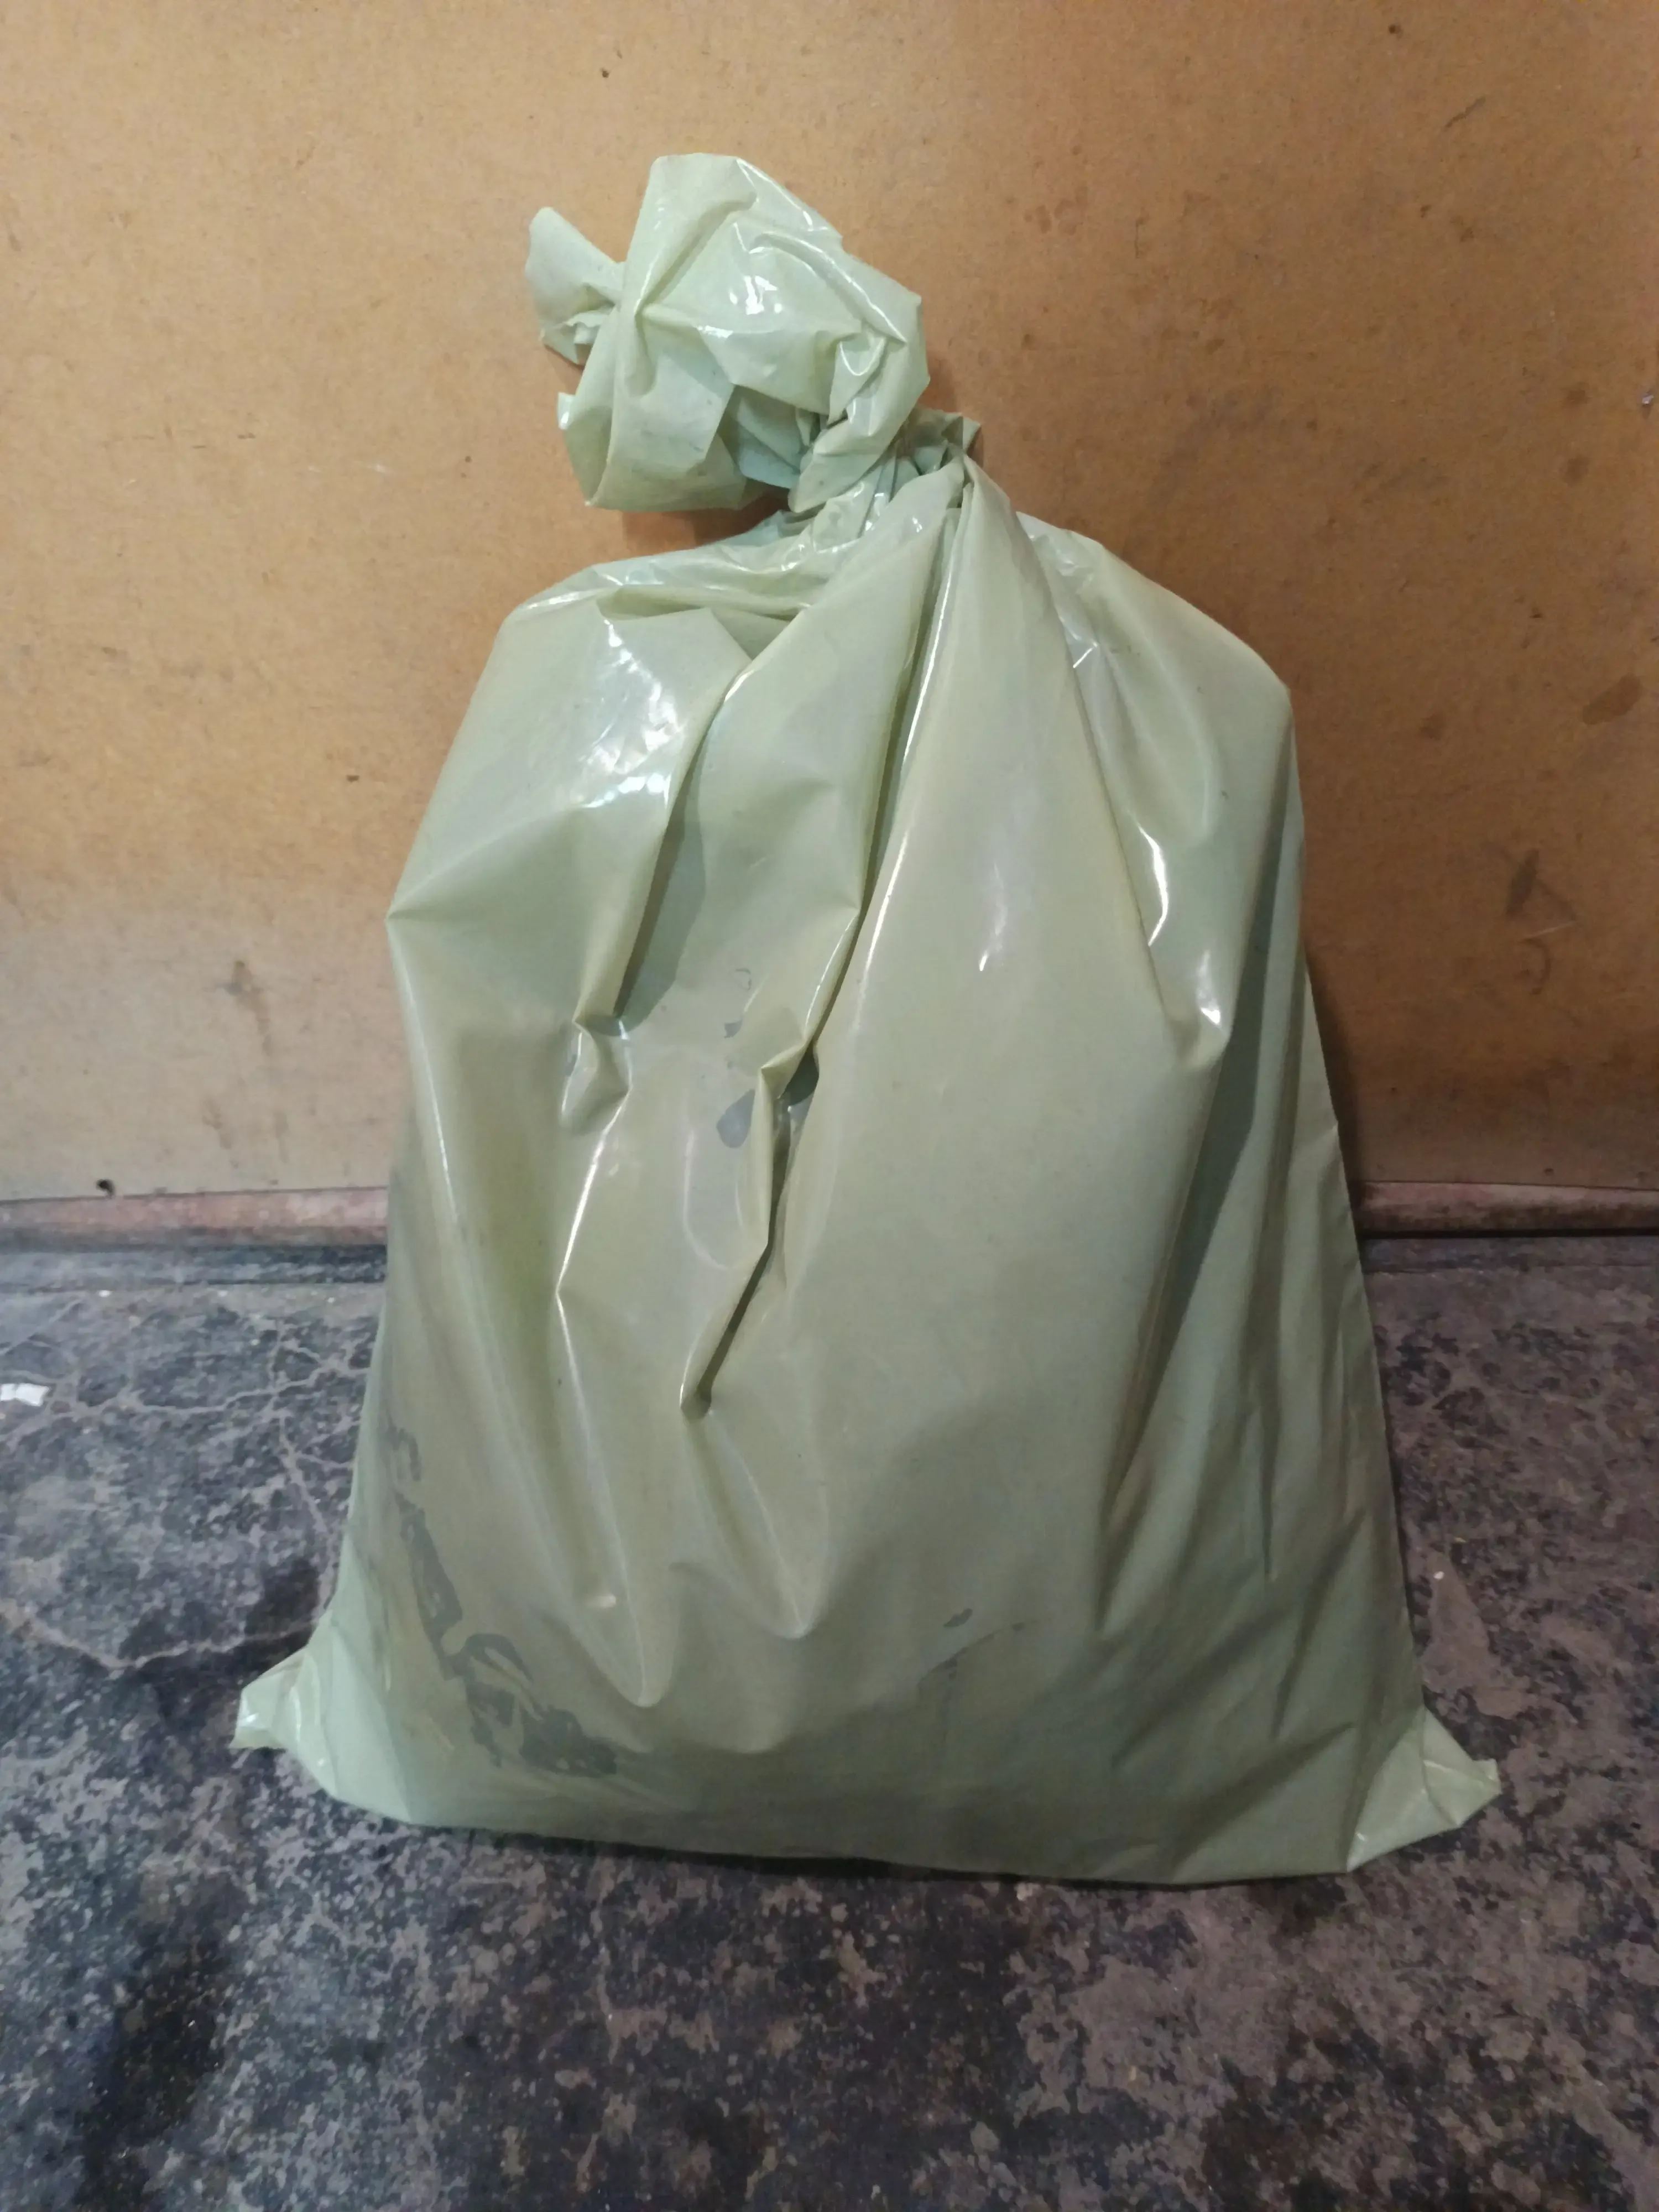
Step 2: Get a Large Containment Sack
The first and most crucial step is containment. You’ll need a large sack - I used a 60-liter one that was bigger than my backpack.
🛍️ Tip
This creates a barrier between your potentially contaminated gear and your living space.

Step 3: Gear Up for Safety
Before you begin handling your gear, it’s essential to prioritize your safety by taking specific precautions to protect yourself from the chemicals in the spray you will be using, rather than the bedbugs directly.
⚠️ Important Reminder
Taking these safety steps is not just about creating distance from bedbugs; it’s also a necessary measure to safeguard your health while working with insecticide sprays.
Step 4: Seal and Spray
Once you have your backpack contained, the next critical step is the application of insecticide. Begin by placing your backpack securely inside the large containment sack.
For this treatment, it’s essential to choose a spray with pyrethroids as the active ingredient. Pyrethroids are synthetic chemicals that mimic the effects of natural insecticides derived from chrysanthemum flowers and are effective against bedbugs.
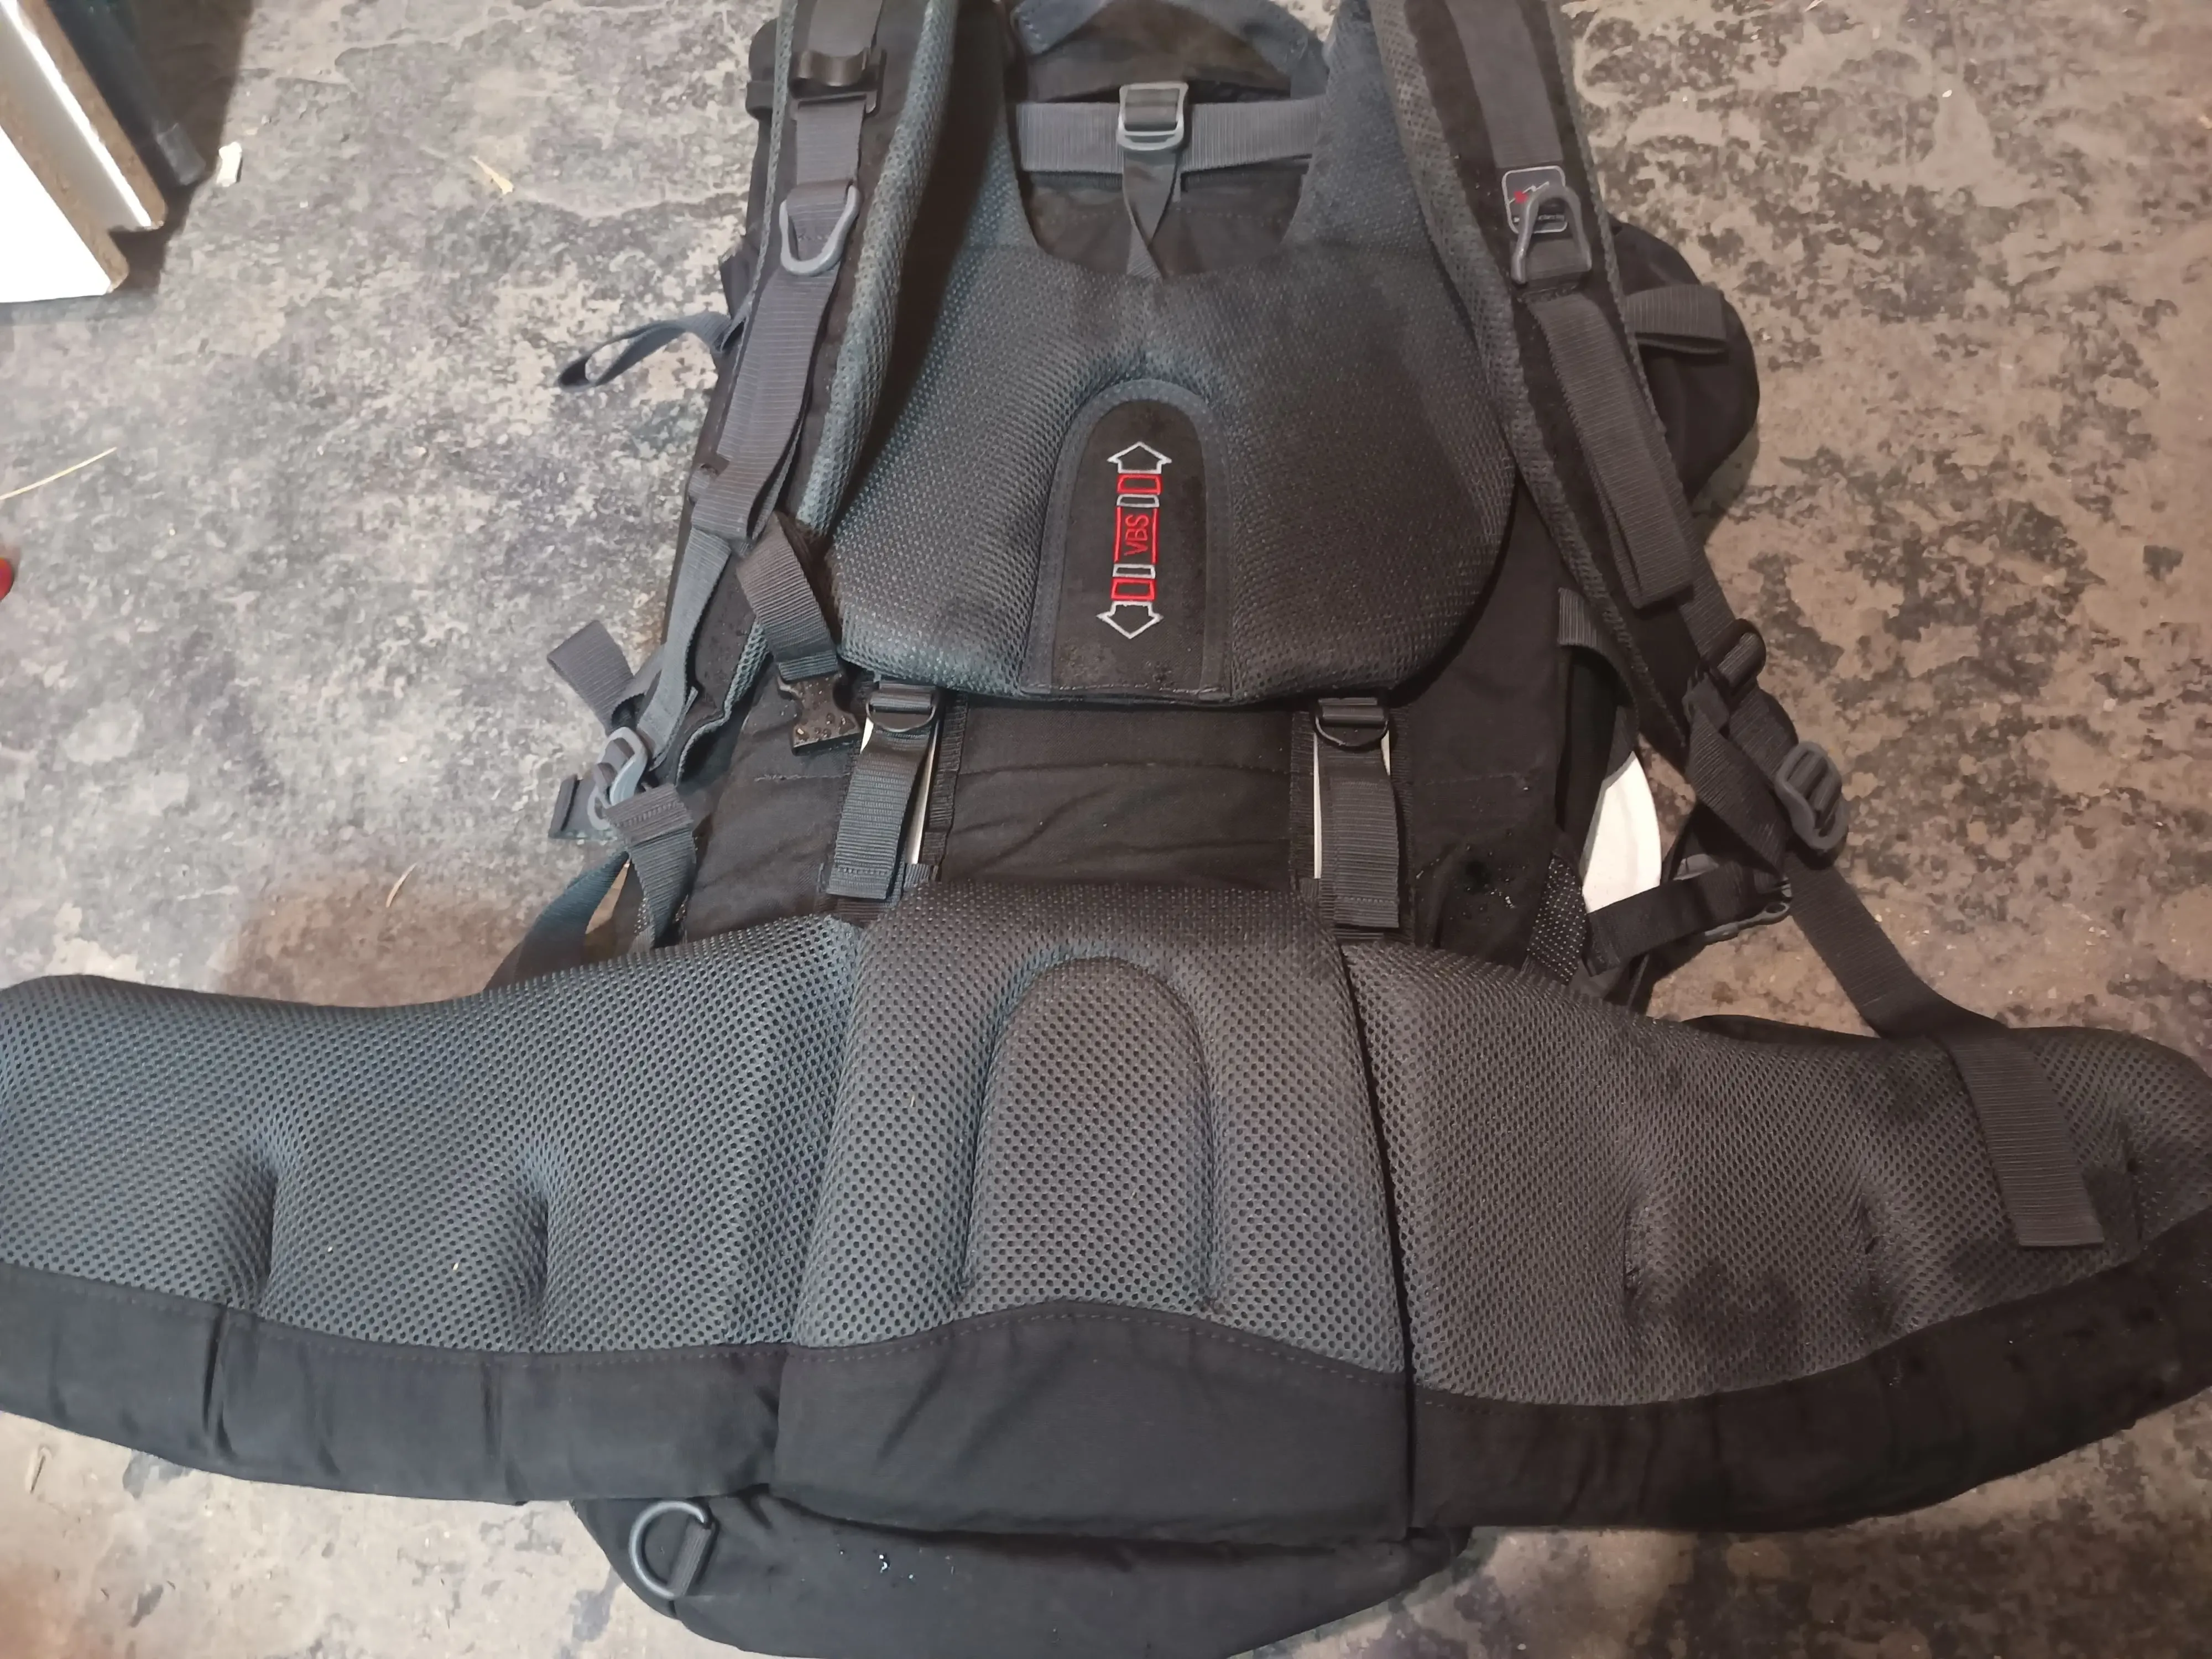
During my own experience, I opted for a pyrethroid-based bedbug killer that I found at the hardware store. When applying the spray, it’s important to be thorough. Aim to soak every inch of the backpack, including pockets, zippers, seams, and any other nooks where bedbugs could be hiding.
Don’t hesitate to apply a generous amount—being thorough is key. This means spraying all surfaces and ensuring that the product penetrates deeply, as bedbugs can hide in the smallest of areas. After applying the spray, tightly seal the sack to trap any lingering pests within.
Step 5: The Day and Night Protocol
If you need to leave the sack with the backpack in a room during the day, you can open the bag slightly so it won’t get moldy. Bedbugs are much less active when there’s light, so this is relatively safe during daylight hours.
During the night, seal the sack completely to prevent any escape. I set phone reminders to check the seal before going to bed - paranoid? Maybe. Effective? Absolutely.
I kept this routine going for three days. Yes, three days. It felt excessive, but considering the alternative was potentially dealing with a full home infestation, it was worth every day of being extra cautious. (This depends on the spray you bought.)
After the treatment period, I ran the backpack through a washing machine cycle (luckily, mine could handle it). If your pack isn’t machine washable, you’ll need to keep treating it with spray and monitoring. Wash it at a minimum temperature of 60°C.
Step 6: Clothing Treatment
For regular clothing materials, a high-temperature wash at 60°C is sufficient. The heat kills bedbugs at all life stages, including eggs.
However, wool items require special attention - and I had several merino wool hiking shirts that couldn’t handle the high heat:
- For wool garments: I sprayed them heavily with the bedbug treatment first, let them sit sealed for 24 hours
- Then wash: Followed up with a normal temperature wash since wool can’t withstand the 60°C treatment
Wool Clothing Challenge
My merino wool hiking shirts couldn’t handle the heat treatment. For these, I had to spray them first, let them sit sealed for 24 hours, then wash at normal temperature. Not ideal, but wool shrinkage would’ve been worse than replacing the shirts.
Non-Washable Items
Hiking boots got the spray treatment and went into sealed bags for two weeks. Electronics and my headlamp went into the freezer at 0°F for four days straight. My freezer was barely big enough, and my roommate wasn’t thrilled about the space they took up.
Final Thoughts
Discovering bedbugs after a hiking trip can be frustrating, but with the right containment and treatment approach, you can handle the situation without letting these pests establish themselves in your home. The key is acting quickly and systematically to prevent any spread while effectively eliminating the existing infestation.
When living in an apartment building, containment is your best friend. This method allowed me to deal with the problem effectively without risking contamination of my living space or potentially spreading the issue to neighbors. My downstairs neighbor still doesn’t know how close we both came to having a much bigger problem.
If you’re dealing with this situation right now, don’t panic.
Stay up to date
Get notified when I publish something new, and unsubscribe at any time.